
How to Fix a Leaning Wedding Cake....In Photoshop!
Have you ever had a wedding where thing just go… wrong? Like the cake for instance? (Yikes!)
I have a lot of weddings where the cake doesn’t quite turn out as expected. First of all, don’t have Aunt Sue make the cake and invest in a pro or for goodness sake don’t finish the cake at home and drive with it in your car! I’m not a pro baker but I know a few. They always finish a cake at the venue to be sure there is no risk of leaning or any damage to the cake upon delivery.
Second, in the event that something happens to your bride and groom’s cake you can solve it in their photos! This is totally fixable in photoshop! It’s quite easy actually but does take some practice to get it to perfection! Take a gander!
Open up your photo into Photoshop.
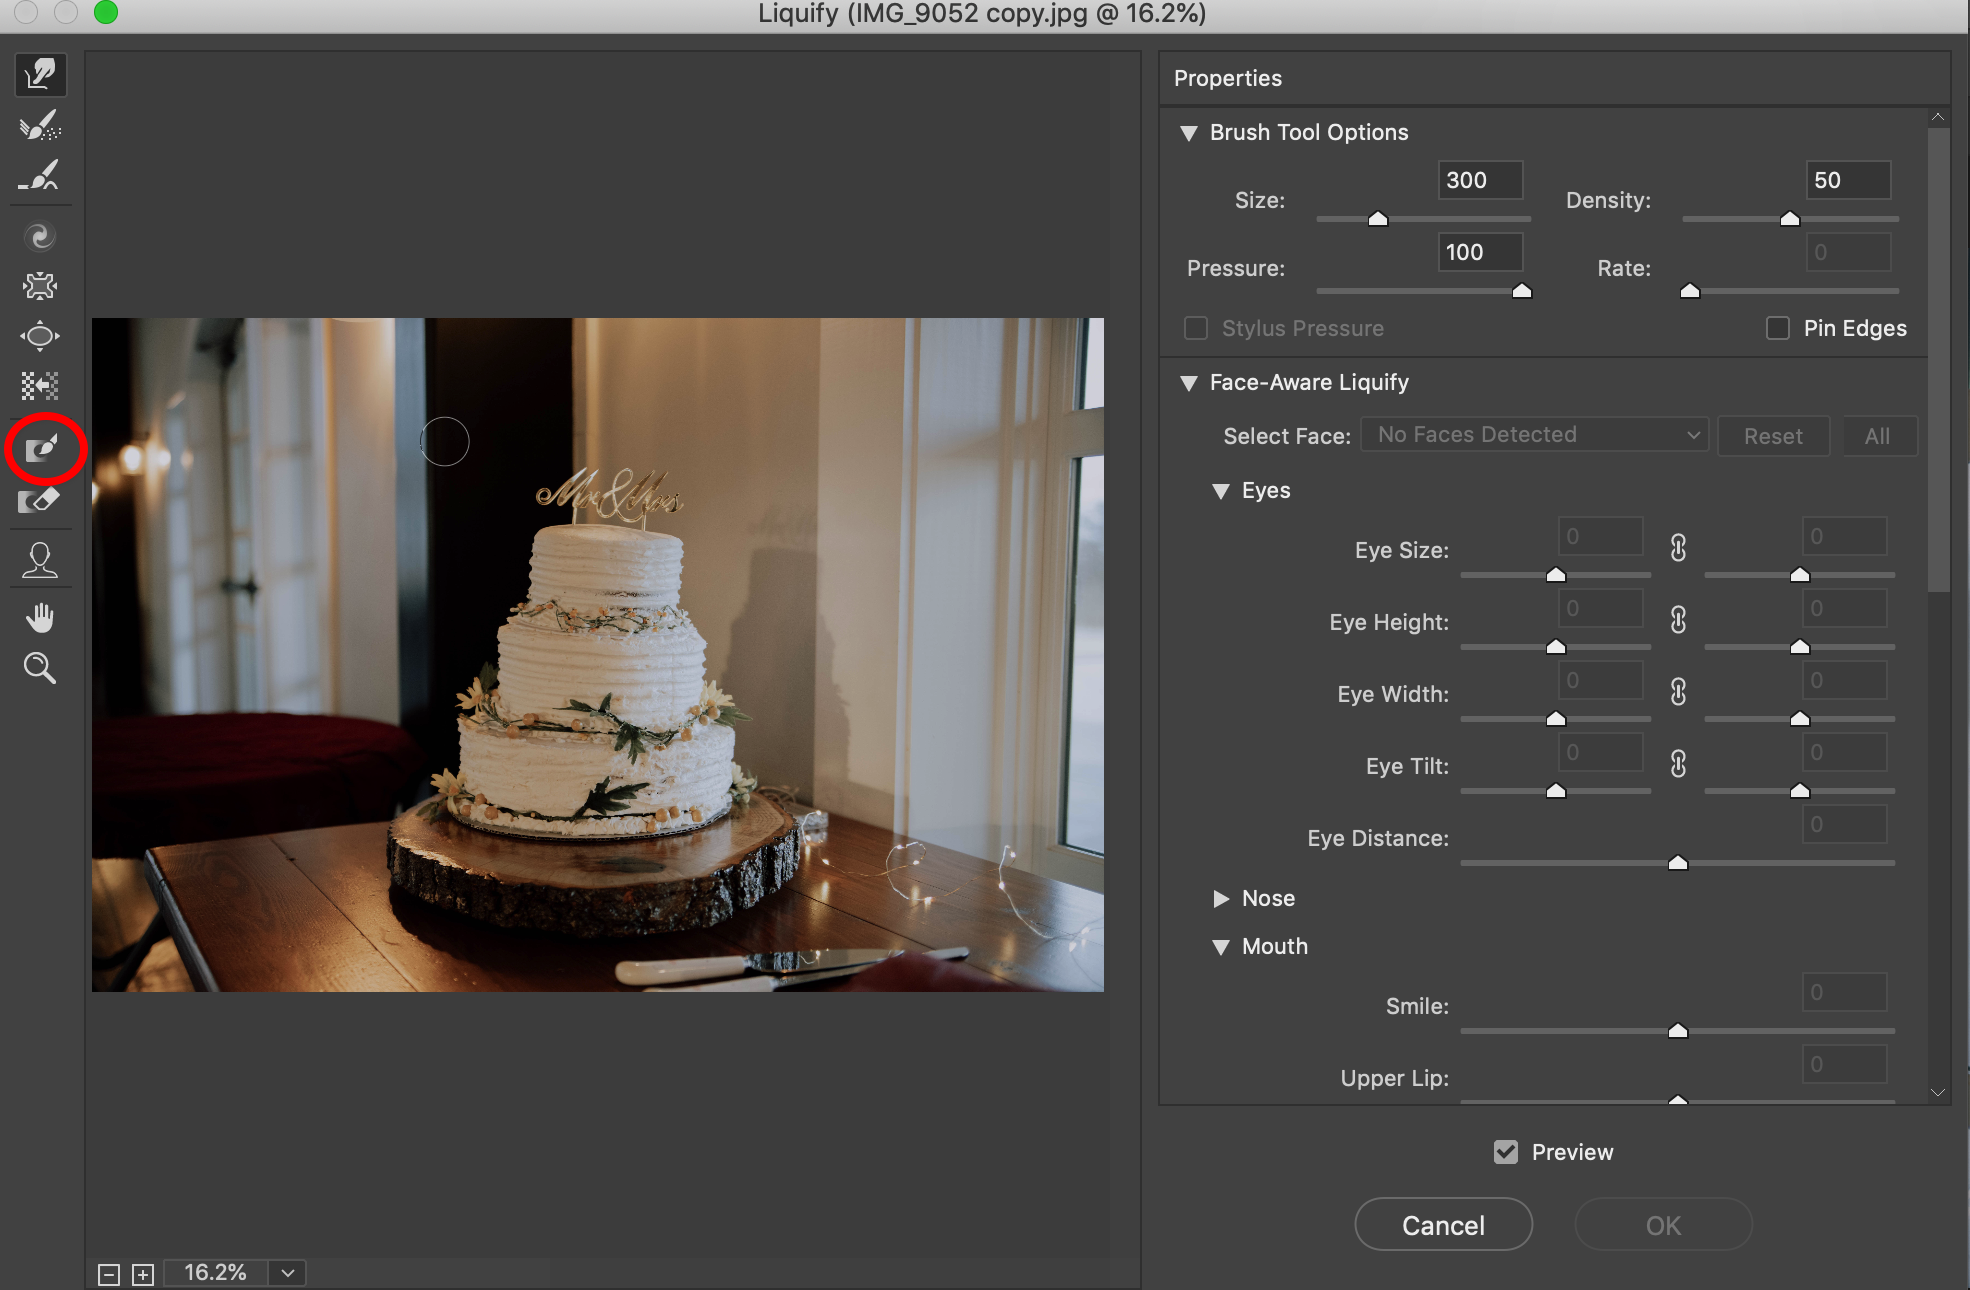
Go to the “Filter” tab. Select “Liquify…” This will bring a new tab window up.

3. Now go to the left side of the tab and select your “Freeze Tool” it will look like this:
4. Take the Freeze Mask Tool and freeze around the cake in areas that you don’t want warped. When using this tool be sure to ONLY select the parts you don’t want moved or else it doesn’t look right. Another good thing to keep in mind is to be very careful on any shadows of your subject. You want the shadow to match appropriately to your subject. So in this case I’ll freeze the it as well and fix the shadow at the very end.

5. Now that you have frozen the outside and background of the cake, you are ready to begin moving bits of the cake to become more even! If you have made a mistake you can simply use the “Thaw Mask Tool” to unthaw the part you need to redo. Get familiar with your tools in the bar!
6. Turn off the checkbox on the right that says “Show Mask” this will get rid of the red mask on top of the image and make it easier to work. If you want to see the mask again simply re-click the box.
7. Click the “Forward Warp” tool (Aka: Reconstruction Tool). This will allow you to warp parts of the cake into a different area and create a whole new image. Use your bracket [ ] keys to size up or size down on your brush or simply use the brush slider to the left of the screen.

Click or un-click the “show mask” box to view the mask as you wish! The “Forward Warp” tool is in the top left corner.
8. Take your time with this to get the best results! Again, practice makes perfect so take as long as you need!

You can see the before and after at anytime to see your progress by clicking the “Preview” box to the right.
Here is our final product! :)

Check out my short clip here to see how its done!


